Teaching my 4-year-old time
Teaching my 4-year-old to recognize time wasn’t a one-week project. I started by introducing the concept of the daily routine when she was about 3 years old. A daily routine with time references helps to teach children the concept of time and effective time management. By establishing a daily routine, my child learned to associate specific activities with points on the clock. For example, I would say, “We will have lunch at 1 o’clock” or “Bedtime is at 8 o’clock.”
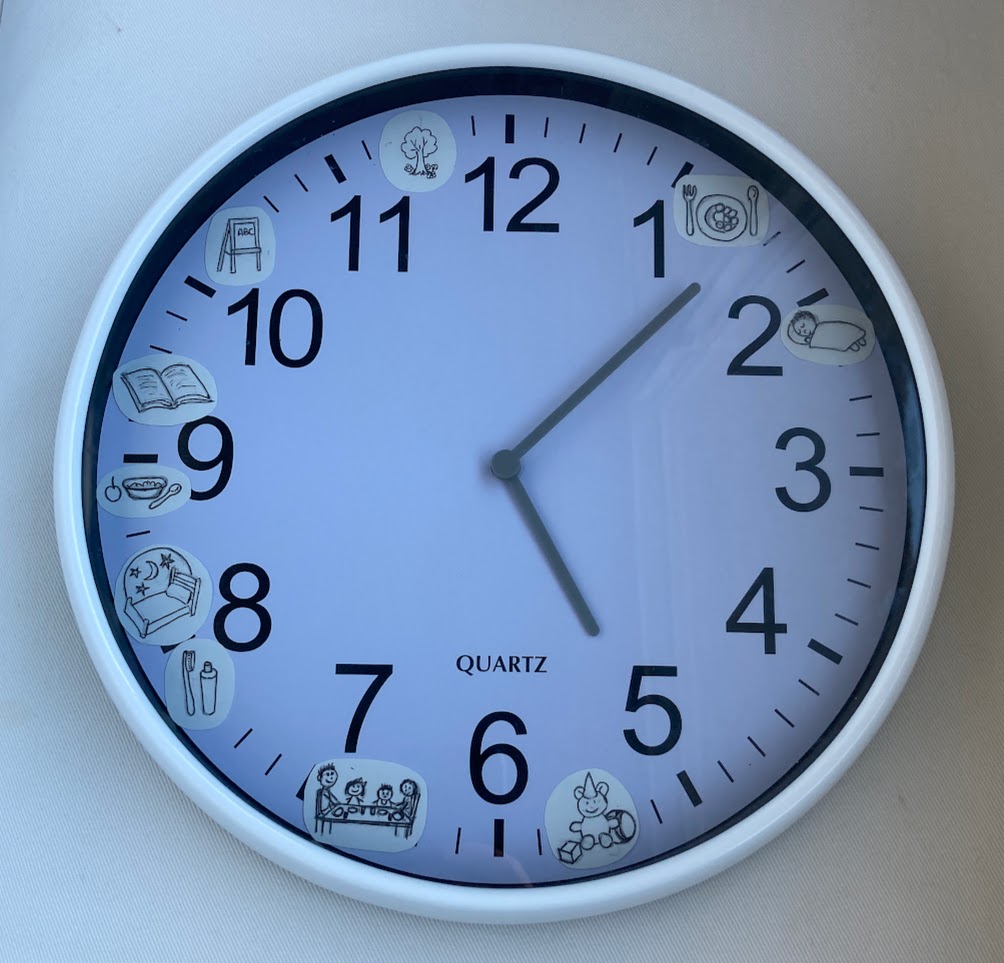
To reinforce the concept, I purchased an inexpensive clock (similar to this one) and added pictures of our daily activities to it. I placed the clock where my child could easily see it. We discussed things like, “Look, the small hand of the clock is approaching the picture of the toys, which means it’s almost time for quiet play.”

Basic math skills and aspects of time
First, we got some basic math skills down, such as:
- Counting until 20
- Counting until 100 by 10s
After that, we started to discuss different aspects of time. I was using our casual conversations while playing together, in a car, or while I was cooking, to teach her about the following:
- Understanding days, weeks, months, and years
- Understanding yesterday, today, and tomorrow
- Understanding a concept of one-half of something
- That there are 24 hours in one day, 60 min in one hour, and 60 seconds in one minute
- We talked about the history of the clock and where 24 hours and 60 minutes came from
- Why the clock was invented and what would we do if there won’t any way to measure time
- We played with a 1-minute sand timer and also counted until 60 together to get a sense of how long one minute is
- We talked about how certain things take time to happen and learning to wait is a part of understanding time. For example, “it will take us 10 min to get to the store,” “the pie will be ready in 30 min” or “Grandma will come in one hour.”
The concept of time by an hour
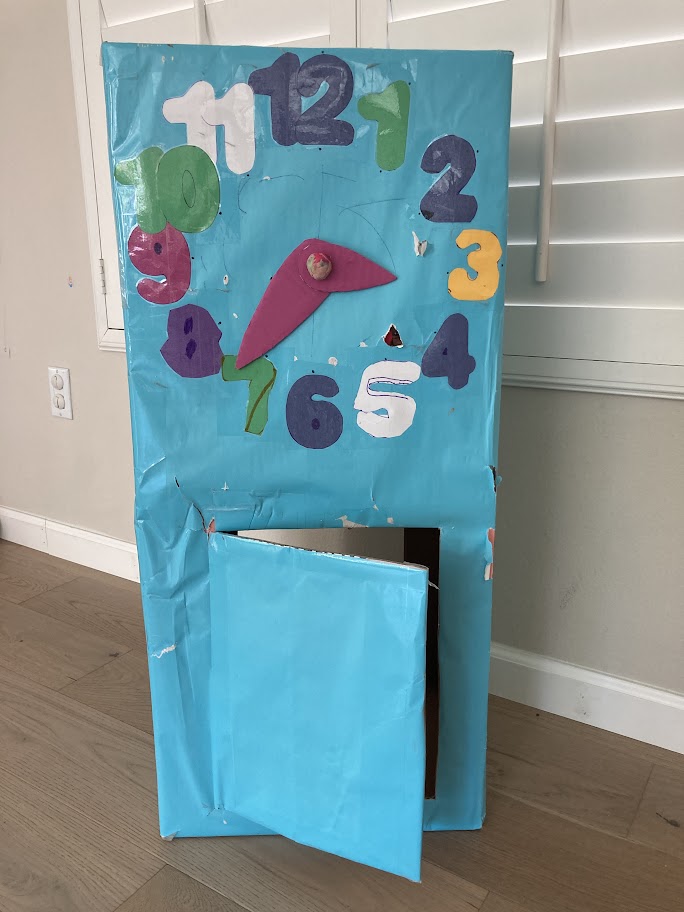
We really enjoyed reading Cinderella’s story together. Remember that part when she is at the ball and the clock was striking 12? It proved to be a great opportunity to introduce the concept of telling time by the hour. In Cinderella’s story, the fairy godmother told her to be back by midnight. We discussed that midnight occurs when both the small and big hands of the clock point to the number 12. Inspired by the fairy tale, we decided to create our own clock, using two diaper boxes taped on top of each other.


Here is what I did:
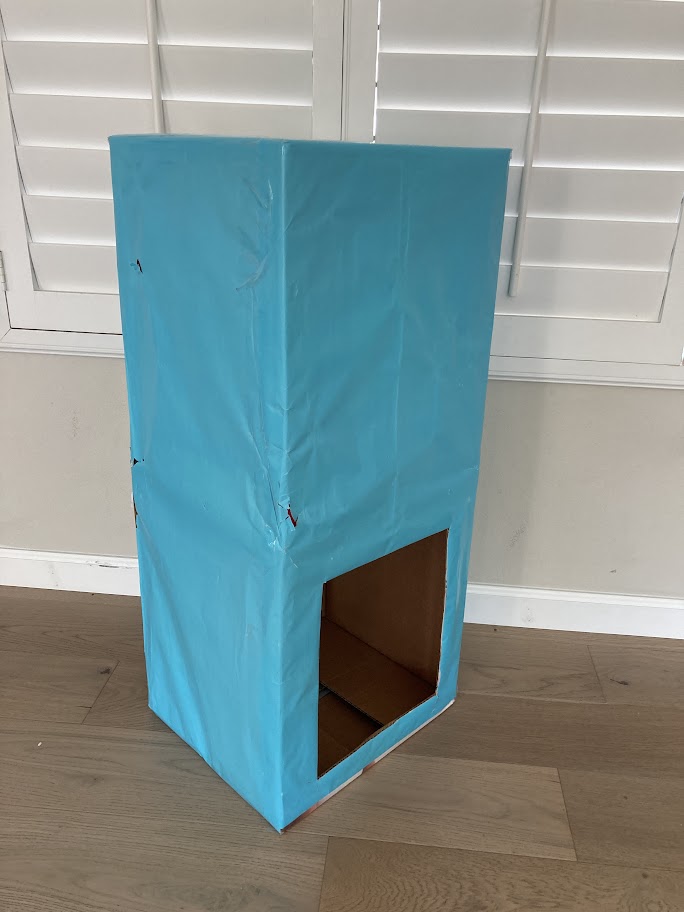
- I wrapped the entire structure (diaper boxes) in colorful paper;
- cut out big and small hands and glued cardboard to the back of the clock hands;
- poked a hole and inserted a stick with clock hands in the middle;
- covered the protruding part of the stick with play dough;
- cut out and taped numbers to the clock;
- and lastly cut out a cuckoo door in the front and also an opening in the back of the clock for my child to crawl into.
Both of my kids were very excited to play with their new cuckoo clock. We began by setting the small hand to 3 and the big hand to 12, and one of them would crawl inside the clock, open the door, and say “cuckoo” three times. Then I would change the position of the small hand to a different time. The 4-year-old wanted to take charge and set the time herself, taking turns with her sister to say “cuckoo.” Through playing this game, my oldest child was able to develop a strong grasp of recognizing time by the hour when looking at the clock.
Minutes
Where can we find minute numbers on the face of an analog clock? Actually, on most analog clocks they are not displayed.
I taught my child that there are two common types of clocks: analog and digital. Then I asked her to show what 9 o’clock on the analog clock will be. She placed the small hand of the clock pointing at 9 and the big hand pointing at 12. After that, I asked her to write 9 o’clock as it would be shown the digital clock, and she wrote 9:12. And at that moment I realized the reason for the confusion: the minutes are not marked on most 12-hour analog clock faces. How was she supposed to know that the 12-hour mark corresponded to 0 minutes?
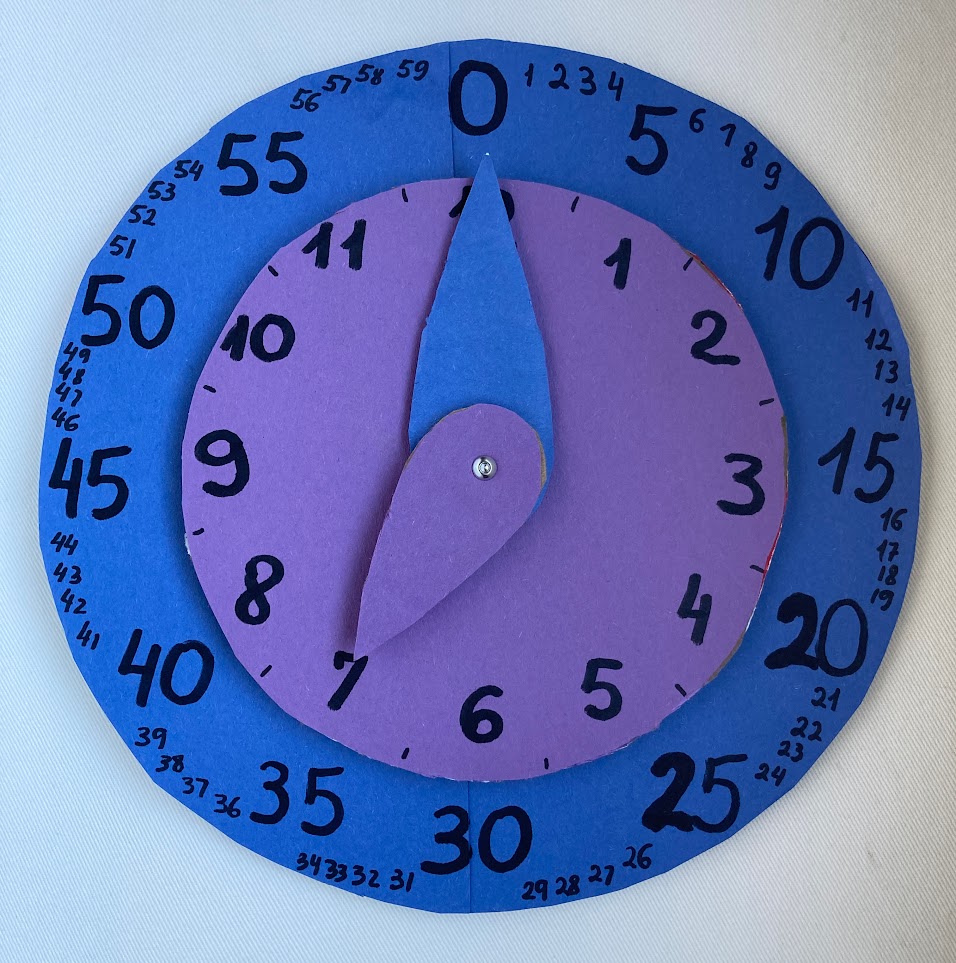
This inspired another project: a color-coded analog clock. I cut two circles: one for the hours and another one for the minutes and two hands of the clock. We picked a blue color for minutes and purple for hours. Each clock hand had its own circle hand, and numbers with matching colors. I screwed together both hands of the clock and the small circle. I used double-sided tape to attach the small circle to the front of the large circle.

The color coding helped a lot. She knew that the numbers for hours were on the purple circle clock face and a small purple hand was pointing to the hours. And the numbers for minutes were on the blue circle clock face and a large blue hand was pointing to the minutes. We practiced for a while with both circles and she got a solid understanding of how the hour and the half-hour should be displayed on both analog and digital clocks. Then I removed the large circle and explained that minutes usually don’t have their own numbers displayed on regular clocks. They are there but we just don’t see them and we have to remember the numbers.
To reinforce the idea, I bought a UV light pen with a flashlight and wrote invisible numbers for minutes on a regular analog clock. Then in a dark room with the help of a UV light flashlight, we could see the numbers for minutes on the clock.
As we practice regularly, we revisit and reinforce time concepts that we learned. Starting with basic concepts and gradually building upon them helped to prepare for the next steps, such as being able to tell the time in 5-minute increments and learning about ‘quarter past’ and ‘quarter to the hour’.
Subscribe to our Newsletter
Thank you!
You have successfully joined our subscriber list.